On this page
- Before you start
- The levels
- Open Members
- Invite someone to several stores
- Change someone's level or stores
- Set someone's level from a store's Team page
- Add someone from your other stores
- Send an invite again or revoke it
- Remove someone from the group
- People on one store's own team
- How group people show on each store
- Where you see your own level
- Good to know
- Related
People and levels across stores
Invite one person to every store or some of them, give them a level on each store, and change or remove them later.
One invite gives a person every store in your group, or only the stores they work in. They get one sign-in and switch stores from the top of the sidebar. Each person has a level for the group, and you can give them a different level on some stores: Admin at one store, Member at another. You manage the group's people on Settings, Members.
Before you start
You are the group's owner or an Admin of the group. A person whose group level is Member doesn't see the Members page.
Your own email is confirmed. An unconfirmed login can't invite anyone.
The levels
Everyone in a group has a level, Member or Admin. The group's Owner sits above both.
Group level. It is their level on every store they're given, and on stores added later when they have All stores. On Members it is the Role.
Store level. On any of their stores, you can set a different level. That store then reads Store level instead of Group level.
Owner. Every store, the group's people, and adding stores. The owner buys the group's credits. The owner's level is never changed on these pages.
The dashboard says each group level in one line:
Member: "Campaigns, replies, recordings and voices on their stores."
Admin: "All of that, plus each store's team and settings, and the group's people."
These are the lists Members shows when you open a person:
| What | Member | Admin |
|---|---|---|
| Build and send campaigns | Yes | Yes |
| Read and answer replies | Yes | Yes |
| Listen to recordings | Yes | Yes |
| Record and clone voices | Yes | Yes |
| See their stores' teams | Yes | Yes |
| Invite and manage their stores' teams | No | Yes |
| Invite and manage the group's people | No | Yes |
| Choose their own alerts | Yes | Yes |
| Change their stores' settings | No | Yes |
| Buy credits | No | No |
| Add a store to the group | No | No |
How a level per store works:
On each store, the store's level decides. When they open a store, the dashboard gives them that store's level: on a store where they're Admin, they invite and manage that store's team and change its settings. On a store where they're Member, they don't.
The group's people follow the group level. Only the owner and people whose group level is Admin open Members. An Admin manages the group's people only on the stores where they're Admin.
One Member store means no All stores to hand out. An Admin who is Member on any store can't give anyone All stores.
Open Members
Open the pill at the top of the sidebar and select Settings.
Under Team, select Members.
On All stores, the sidebar's Team row opens Members too.
What you see
a table with Name, Role, Stores, Last seen and Status, with All and Invited above it. Role is the group level, marked "Varies by store" for someone with a different level on some stores. The Stores column says All stores or names the stores.
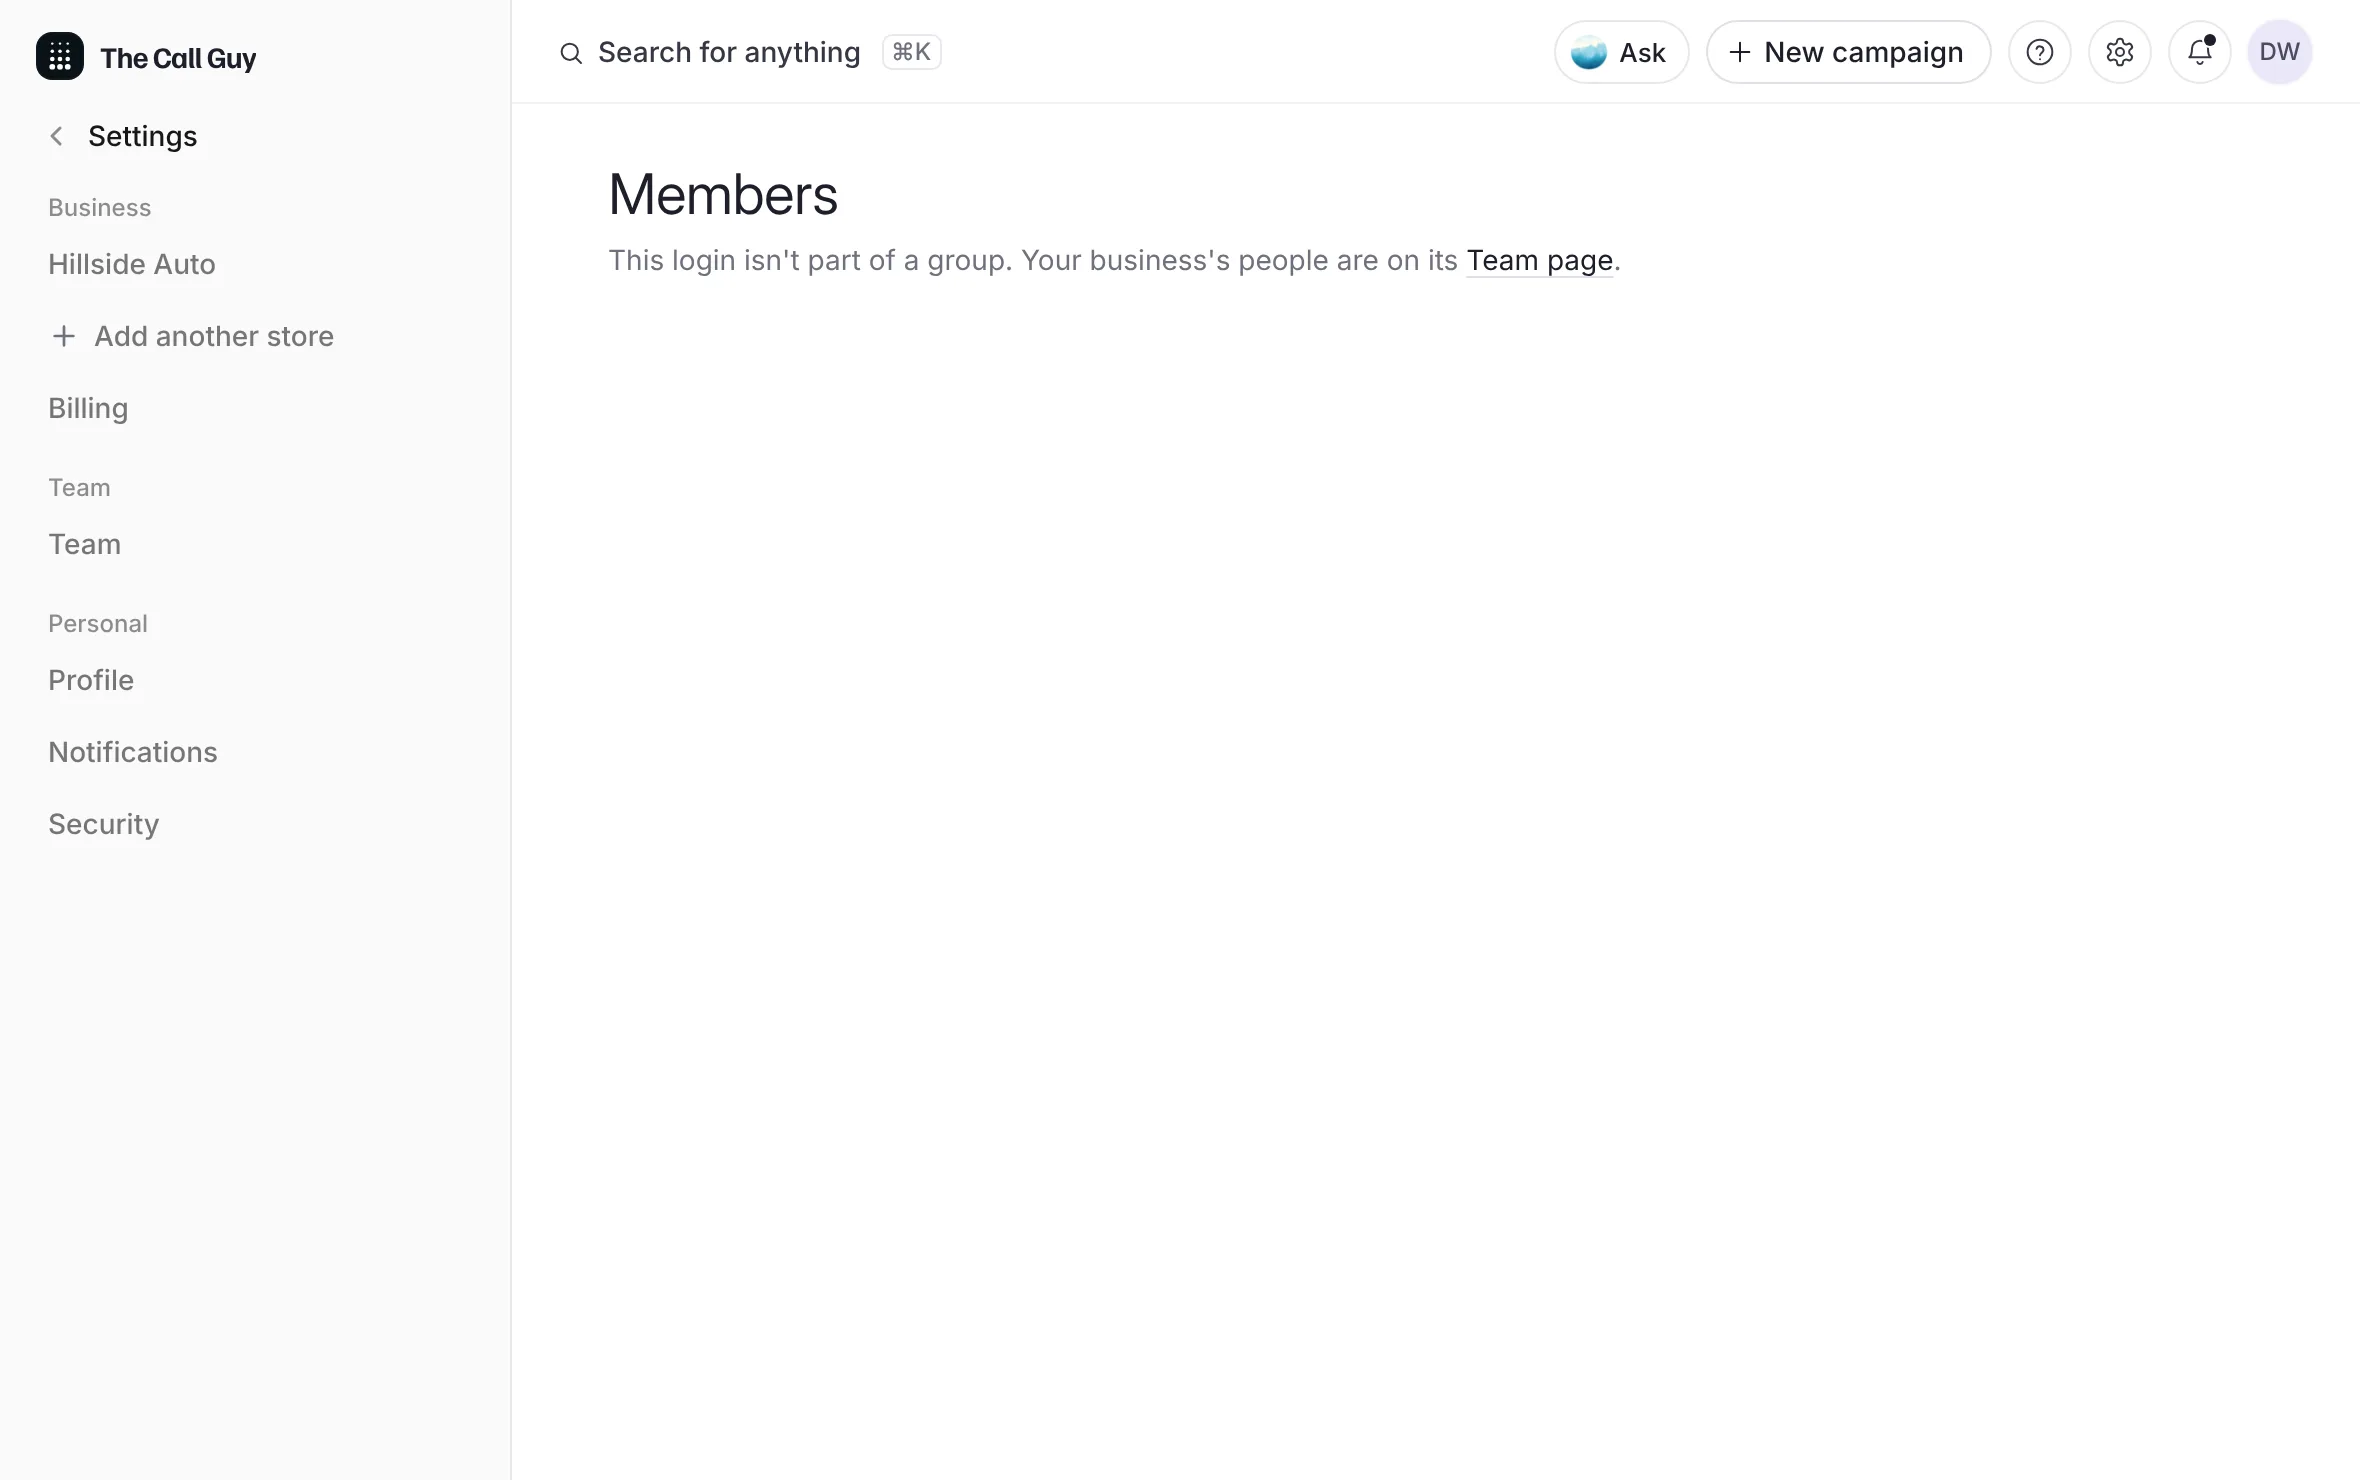 Example
Invite someone to several stores
Select Invite.
Under Role, choose Member or Admin. Every invite starts on Member. This is their group level.
Type their Email.
Under Invite to…, tick All stores (this includes stores added later), or tick each store they work in.
To give them a different level on some stores, tick A different level on some stores. It shows once the invite gives more than one store.
Under Level by store, choose Member or Admin beside each store. A store reads "Group level" while it follows the Role, and "Store level" once you set it apart.
Select Send invite.
What you see
the invite in the list with the status Invited. The dialog's fine print says "One invite, one sign-in for every store you pick. The link works once and expires in seven days."
They get an email with a Join the group button. They set a password, or sign in if they already have a login, and the stores are theirs, each at its level. The link works once, only for that address, and expires in 7 days.
Change someone's level or stores
On Members, select the person's row.
Select Edit access.
Under Role, choose Member or Admin. This is their group level. The list under it shows what it can and can't do.
Under Stores, tick or untick stores.
Under Level by store, each store they're given is listed with its level. Choose Member or Admin for any store that should differ.
Select Save. It stays unavailable until something changes.
What you see
a message that says their level and stores, or that their access is saved with a different level on some stores. When any store differs, their panel says "Varies by store" beside their level and lists Level by store: each store with its level and "Group level" or "Store level".
When you change the Role, every store that follows it moves with it. A store you set apart keeps its own level.
Setting a store back to the group level makes it follow the group level again.
Cancel puts everything back as it was.
For someone who hasn't accepted yet, the panel says "A change here applies when they accept: the link they have keeps working."
Set someone's level from a store's Team page
The group's owner and the group's Admins can also change a group person's levels from any of their stores.
Open the store from the pill at the top of the sidebar, then select Team.
Select the person's row. Group people carry a Group mark beside their level.
Select Edit access.
Choose their Group level: "Their level on every store they're given, unless a store below says otherwise."
Under Level by store, choose Member or Admin for each of their stores.
Select Save access.
What you see
a message that their access is saved, with Undo for a moment. On that store's Team page, their row reads Group · Store level when their level there is that store's own.
Their stores are changed on Members. The panel's Open Members button takes you there.
Add someone from your other stores
On a group store's Team page, the group's owner and its Admins on that store see From your other stores: "People who already open another of the group's stores." It lists the group's people who aren't on this store yet, and people on another store's own team.
Open the store, then select Team.
Under From your other stores, select Add beside the person.
For someone from another store's own team, choose their Access at the store: Member or Admin. Someone already in the group joins this store at their group level.
Select Add.
What you see
the dialog says they're "added at once: no new invite, and nothing is emailed." After Add, a message says they can open the store now.
Someone from a store's own team joins the group's Members this way.
Their email must be confirmed. If it isn't, the dashboard says "They haven't confirmed their email yet — send them the group's invite instead."
Send an invite again or revoke it
Select the invite's row on Members, or open Invited first.
Select Resend to send a fresh link, Revoke invite to cancel it, or Edit access to change what it gives.
A resent invite replaces the earlier one: the older link stops working. It keeps the levels you set for each store. An invite past its days shows Expired. Select Resend in the same panel for a fresh link.
Remove someone from the group
Select the person's row.
Select Remove from group.
Confirm with Remove from group, or select Keep them.
What you see
"They lose the stores the group gave them. Their own store and any seat they had before stay. You can invite them back any time."
People on one store's own team
Someone invited from a single store's Team page is on that store's team, not the group's. Members lists them under On a store's own team, with the status Store team.
Select their row under On a store's own team.
The invite opens with their address and level, and the stores they're on already ticked. Tick any more stores.
Select Send invite.
What you see
the dialog says "They keep every store they're on now. When they accept, the group gives them the stores ticked here."
To add them to one more store without an invite, use From your other stores on that store's Team page.
How group people show on each store
Each store's Team page shows the group's people with a Group mark beside their level on that store, or Group · Store level when that store has its own level for them.
Opening one of them shows their access on that store. The group's owner and its Admins also see Level by store, with each of their stores, and get Edit access and Open Members.
A store added with Add a store has no sign-in of its own. People open it with their own logins: add them from Members, or from the store's Team page.
Where you see your own level
The store menu shows your group level beside the group's name.
Settings, Group shows your group level under Your role, with what it lets you do.
Your account menu lists your other stores with your level on each store.
Each store's Team page shows your level on that store.
Good to know
Nobody changes their own access or removes themselves. Ask the group's owner.
An Admin reaches only the stores where they're Admin. A person with stores outside that reach is changed by the group's owner.
A person whose group level is Member but who is Admin on some stores manages those stores' own teams from each store's Team page. They don't manage the group's people.
The invite email says they join as an admin only when they're Admin on every store it gives. Otherwise it says "a teammate".
A login belongs to one group at most. An address already in another group is refused: "That email is already in another group."
An address that runs its own Call Guy account can't be invited with that address, unless that account is one of your group's stores.
A group holds up to 50 people.
Each invite, add and level change shows in Team activity on the stores it touches, with the level on each store, marked "Through" and the group's name.
Related
Last updated October 19, 2026
Was this helpful?