Send your first campaign
The short path to a first campaign: credits, a list, a voice, a script, a start time, then sign and submit for review.
A campaign is a permission-based list, a script and a voice. You build it in five steps at New campaign, sign it, and send it to the team behind The Call Guy for review. Nothing goes out until it is approved. This page is the short path. Each step links to its own article.
Before you start
Your sign-in email must be confirmed. Until it is, the builder reads Verify your email to open the builder. See Confirm your email.
Credits must be on your balance. With none, the builder reads Add credits to launch campaigns, with Buy a bundle. A teammate reads Ask the workspace owner to add credits. See Buy credits.
Have your list ready: contacts who gave the permission required to receive prerecorded voicemail messages from your business. A campaign needs at least 25 contacts. See Prepare your list.
Your business's time zone should be set. Campaigns go out on it. See Your business's time zone.
Build it and submit it
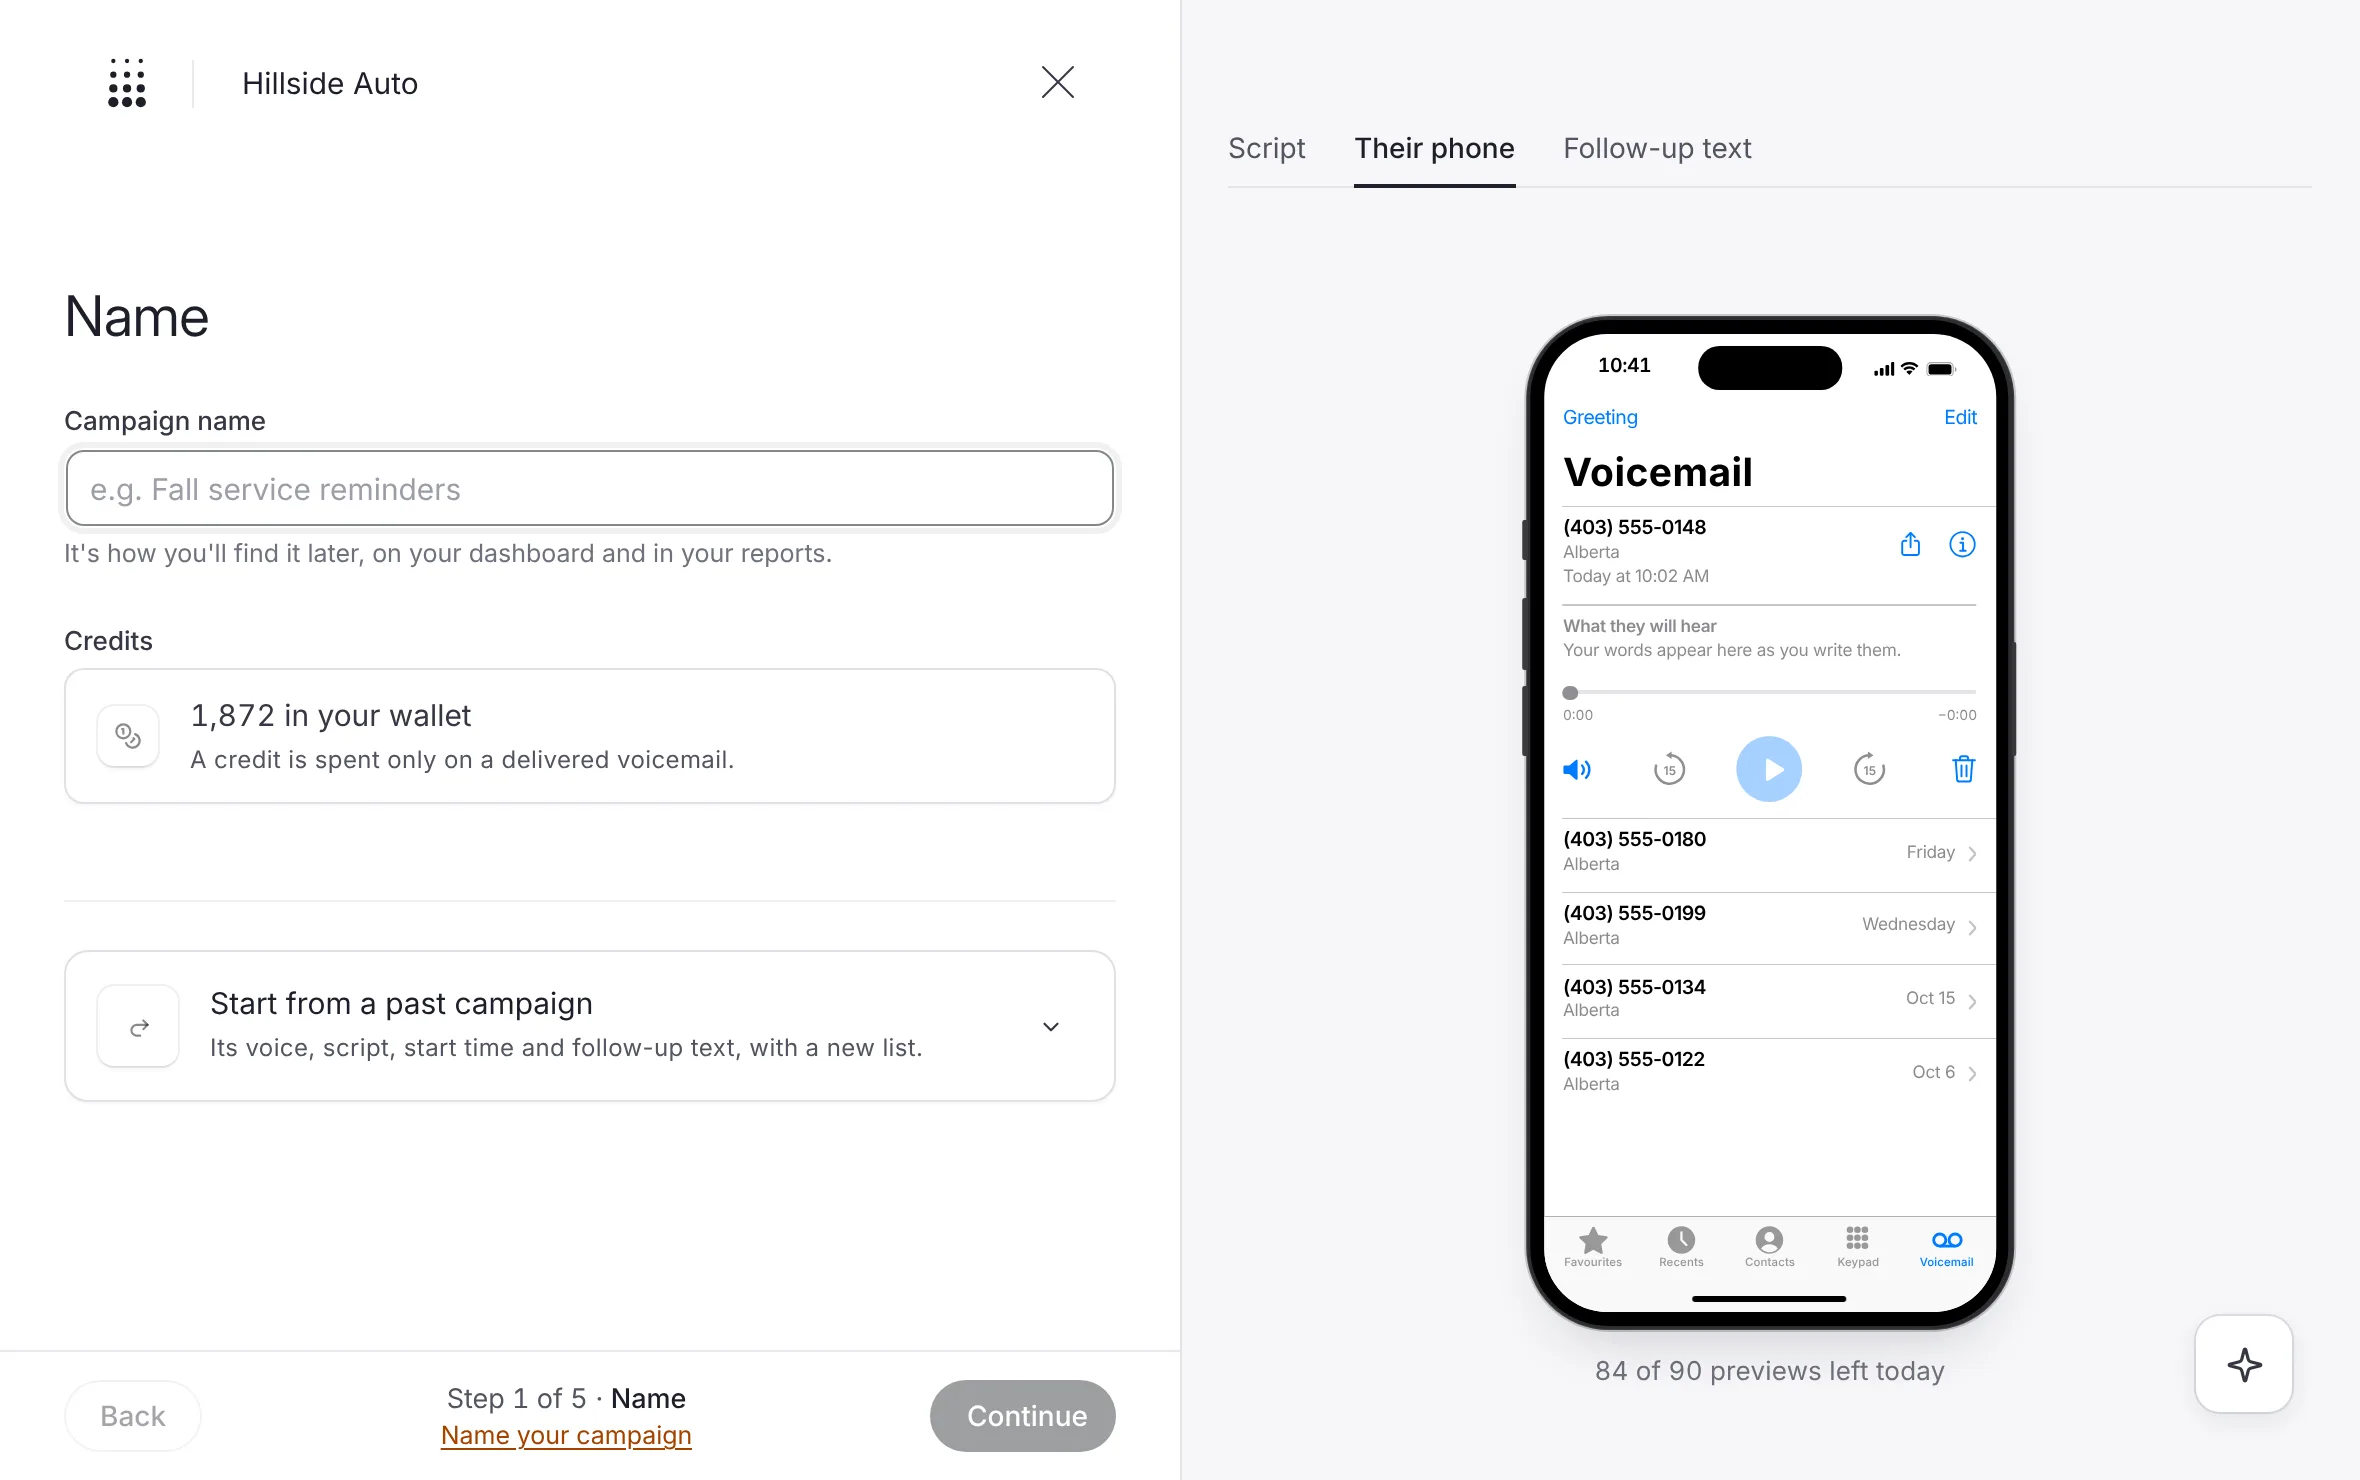
Select New campaign in the top bar.
 Example
Name: type a Campaign name, the one you will find it by later. Choose the message mode: A message for each lead or One take for everyone. Both cost the same: one credit per delivered voicemail. Select Next. See A message for each lead, or one take for everyone.
Audience ("Who are we calling?"): upload your list, check how its columns are used, then review the contacts. Rows that cannot be called are set aside with the reason, and recipients outside Canada are set aside too. Tick the permission line: "These contacts have given the permission required to receive prerecorded voicemail messages from my business. I understand every campaign is compliance-checked before it goes out." Select Next. See Upload a list.
Voice and message ("Who says it, and what does it say?"): pick the voice (yours, your team's, or a house voice), write the script the way you talk, then hear the take. Select Next. See Write a script people call back and Hear it before anyone else.
When ("When should it land?"): choose the day and the start time, then what happens after it lands. Select Next. See Choose the day and the start time.
Review ("Review every detail."): check every row. Type your Full name, sign, and tick the box: "I approve this script and authorize The Call Guy to produce and deliver this campaign to my list on my behalf." With a follow-up text, the box names it too ("I approve this script and follow-up text and authorize …"). See Review and sign.
Select Submit for review. It reads Sending to our team… while it goes.
What you see
your campaign's name with "is in review", and Where it stands: Submitted (with who signed), In review, Approved ("By email") and Sending, with the day and time it starts.
What happens next
The team behind The Call Guy reviews the campaign, usually within one business day. Every campaign is reviewed before it is sent. See How the team reviews a campaign.
Once it is approved, it goes out on the day and at the start time you chose, on your business's clock, inside regulated calling hours.
A credit is spent only on a delivered voicemail. A returned voicemail gives its credit back. See Delivered, returned and to go.
Good to know
The five steps are listed down the left side. Back returns to the step before. Next stays unavailable until the step is complete.
Save and exit keeps your draft. It waits at the top of Campaigns.
If your business has no time zone yet, the When step asks for it. A Member reads "Ask an admin to set your time zone in Settings".
The start must fall inside calling hours. See Calling hours.
Would you rather have the team build it with you? See Get help from the team.
Related
Last updated October 19, 2026
Was this helpful?